
We recently started sewing felt and doing small toys and ornaments, partly because my daughter started doing it. It was a way of doing something together (that didn't involve screens or technology.)
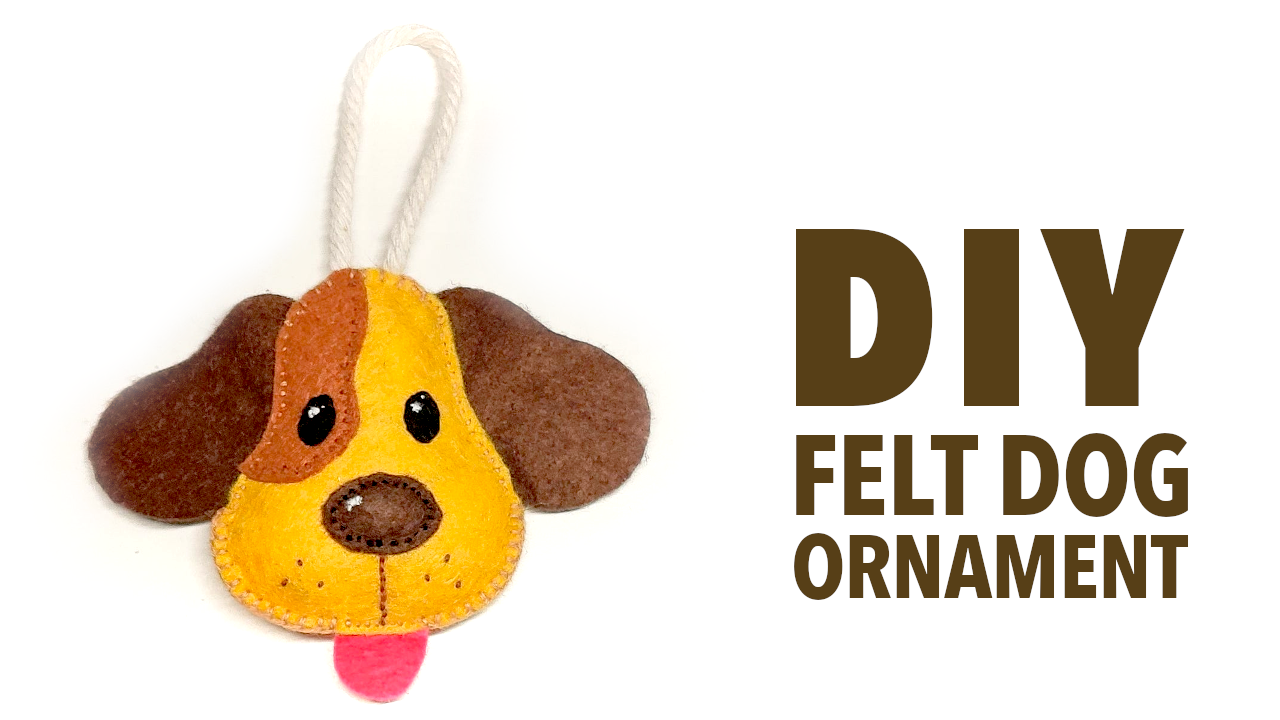
After completing a couple of designs we got online, we decided to try something different. I always draw a simple dog... could we do it on felt too? So we tried... and the result looked neat (but I'm biased)?
The Pattern
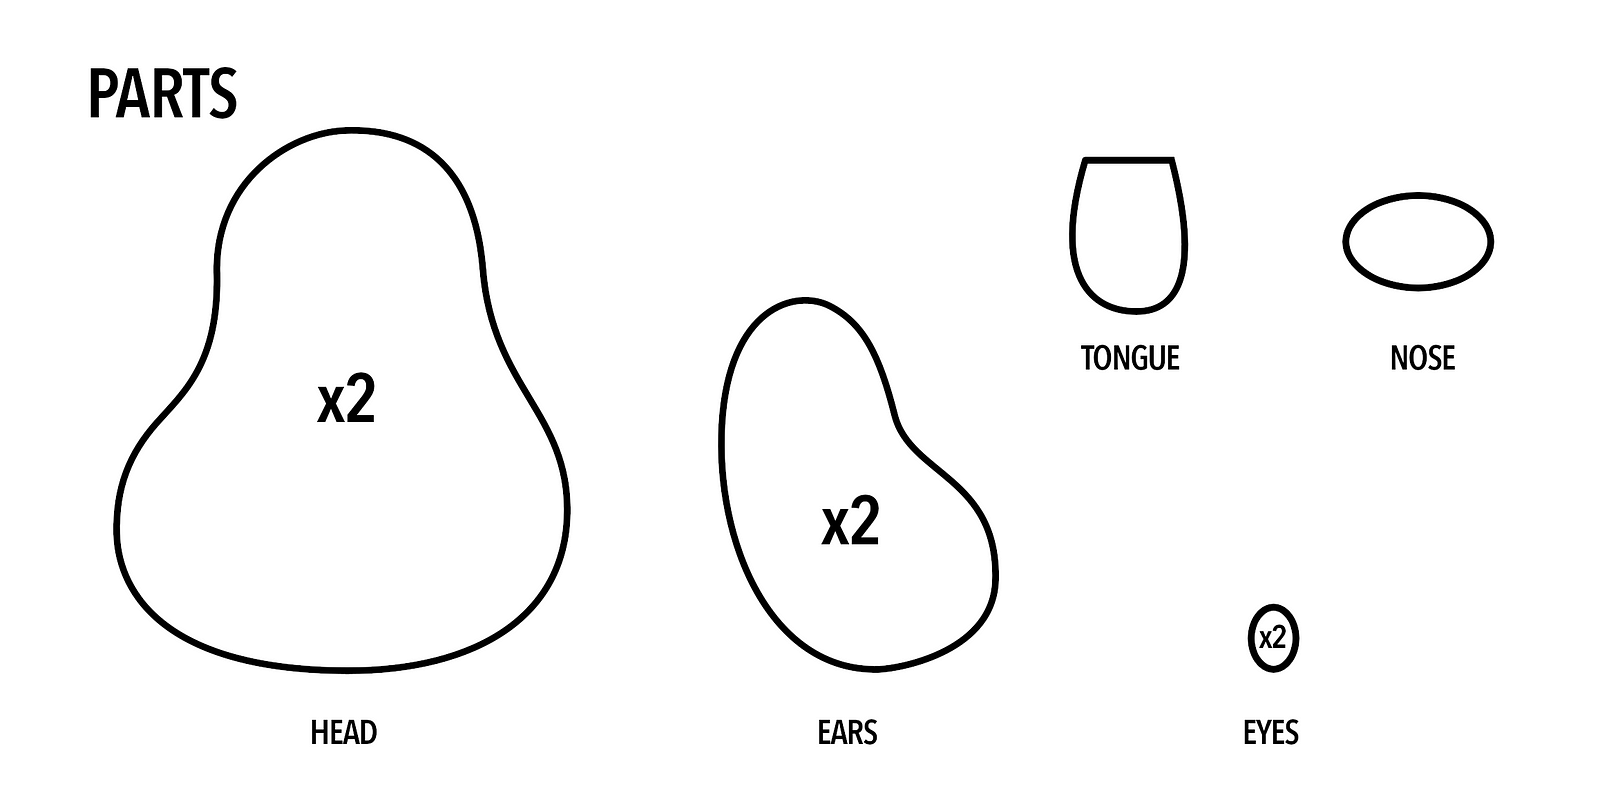
Here's a digital version of the pattern we used. As you can see, it is straightforward, but as I explain later in the process, this is just a base that allows for many different types of customization that will make your design unique and personal.
The Process
This will be a step-by-step photographic log of how to do the ornament. If you have experience sewing, this may be boring... but maybe you could help me improve our technique by providing feedback.
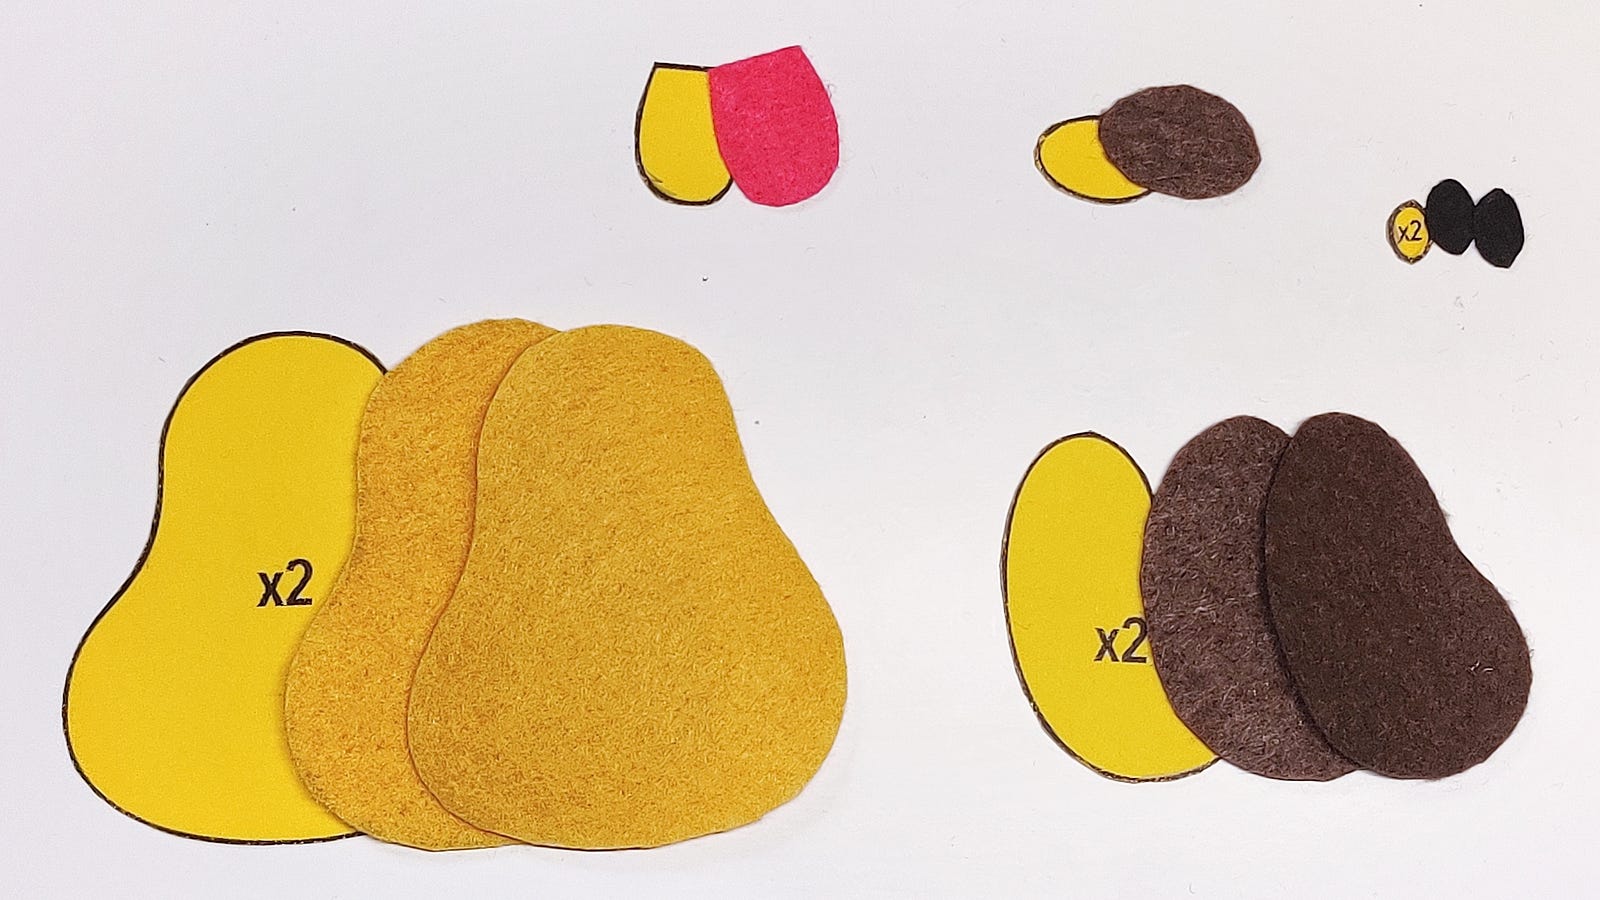
1. Cut the different parts
First step: cut the felt to get all the needed parts. As this is a cartoony puppy, you can pick almost any color, and it will work just fine. For this demo, we chose mustard and brown.
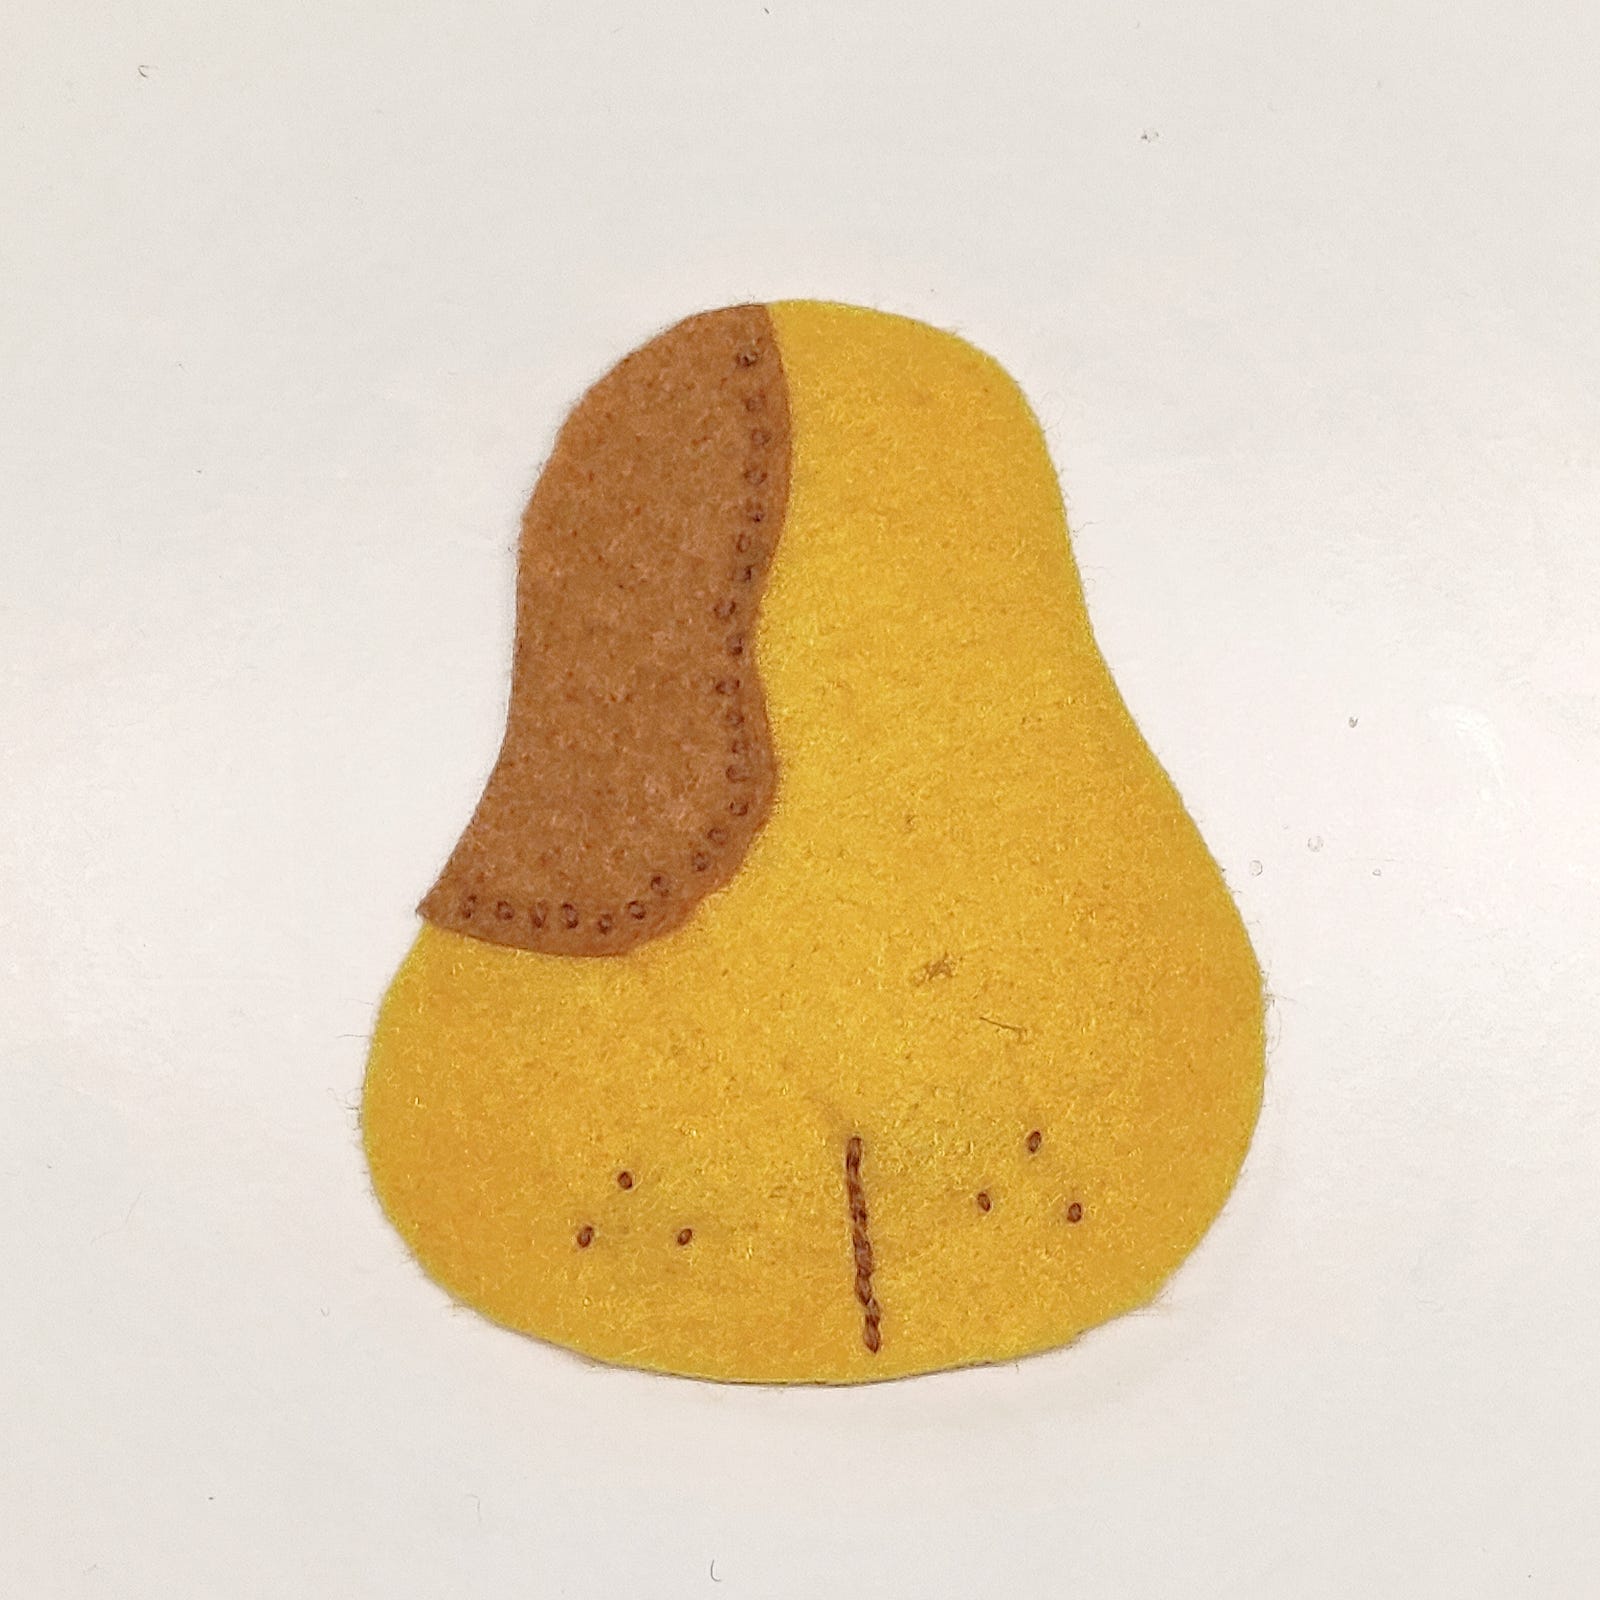
2. Add optional decorations
Before we start putting all the pieces together, we can add some details to the face: whiskers, the mouth line, maybe some here on top... your imagination is the limit.
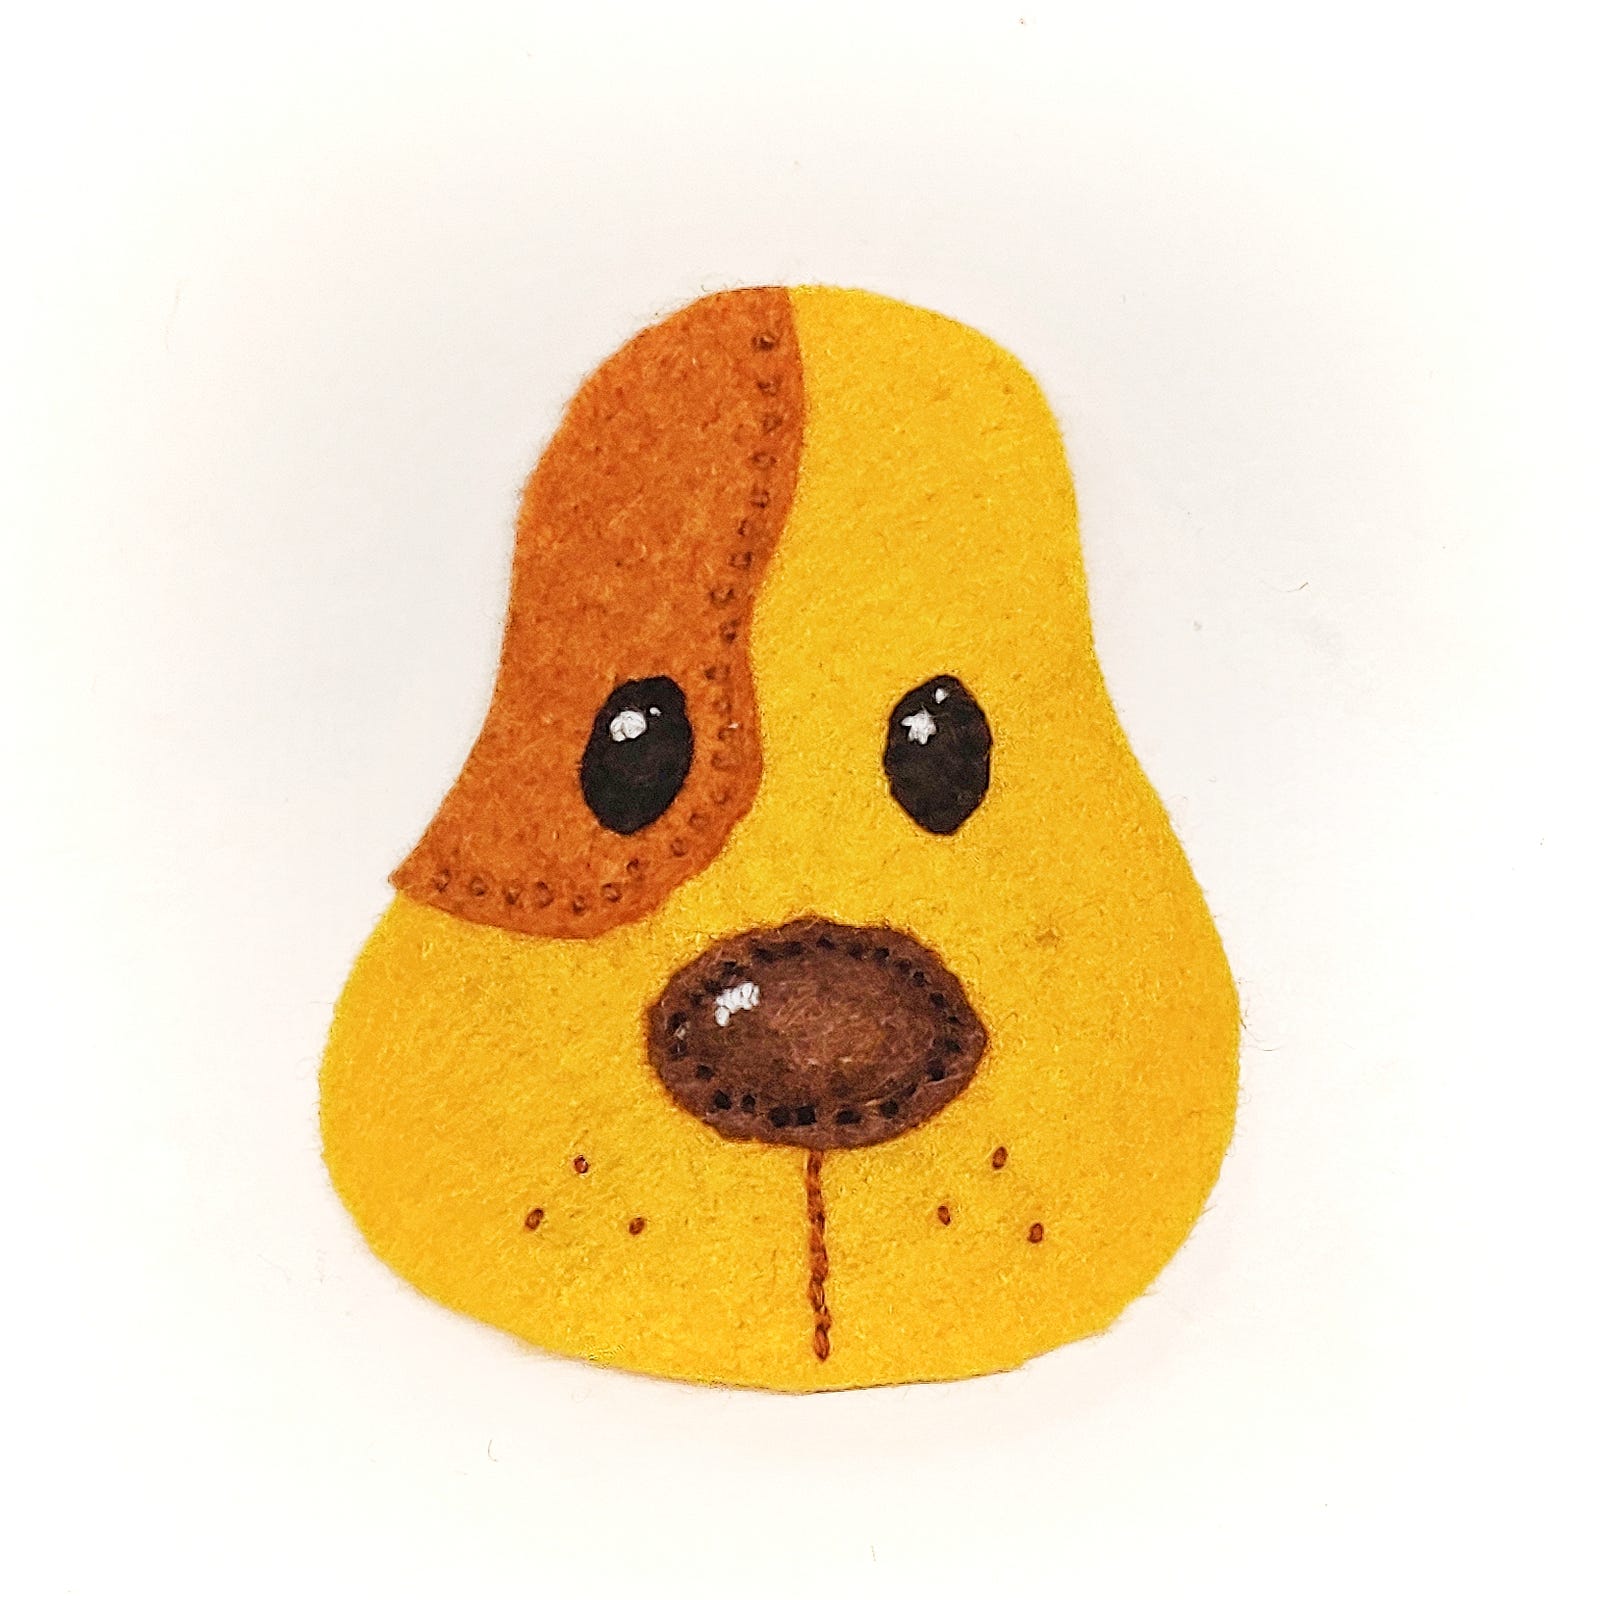
For example, after doing a plain puppy face (see bottom of the article), for this tutorial, we added a face mark (which may make it look a little bit like Franenweenie):
We can use the mouthline to attach the tongue too. Of course, we will completely sew it later, but it will help keep it in place... a step we forgot while doing this puppy decoration.
3. Add the nose
The nose will be at the top of the mouthline. We can add some fill to make it look more three-dimensional, but this is not required-one of the many options we can pick from.
Before sewing the nose, we added stitches with a lighter/white thread to make it look brighter.

4. Add the eyes
Like the nose, we added sparks with a brighter thread to the eyes. To make it more "personal," we could add a line for the eyebrows (this can change the expression and make it more relatable.)
A couple of stitches per eye should do, or you can go around the whole thing (as we did.)
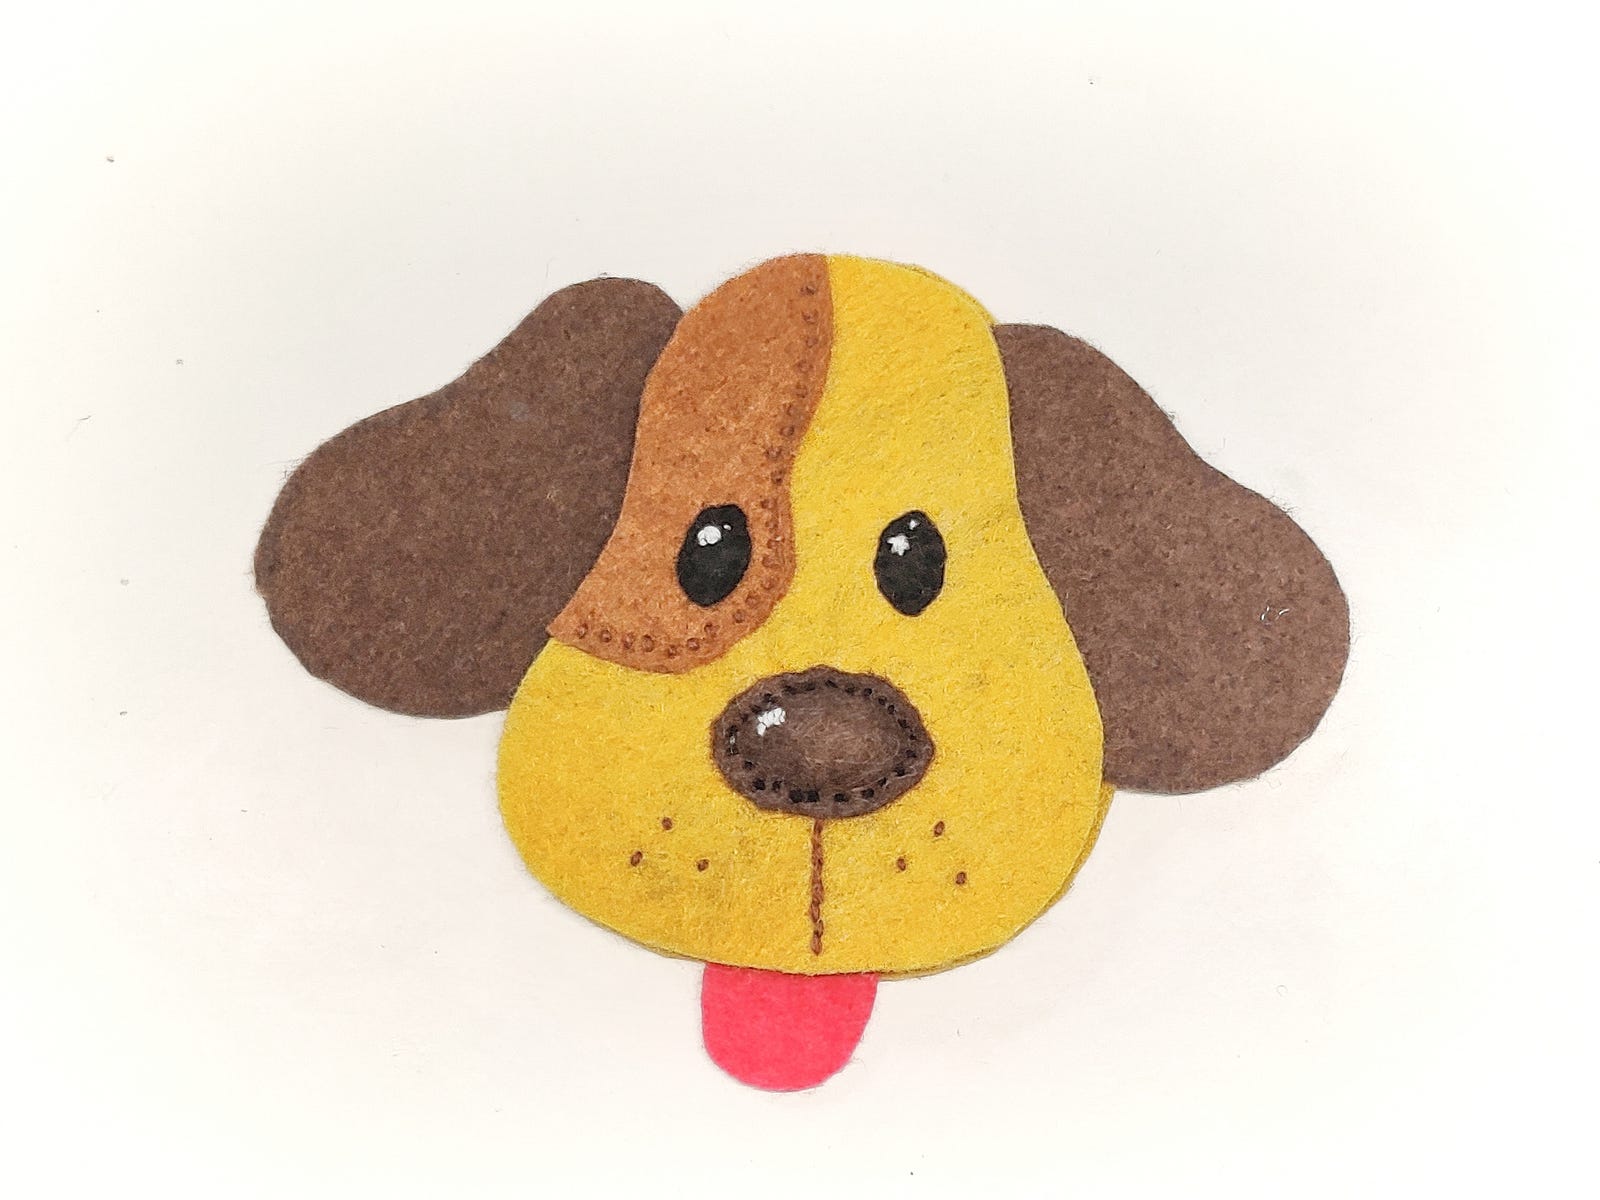
5. Put everything together
Once we have finished the face, we can do a quick check to see where all the remaining parts will go and how everything will come up together:
Now we want to sew the outline of the head. We start from the top of one of the ears. This makes it easier to hide the initial stitch. We used double thread with tiny whip stitches for the ear and mouth areas and blanket stitches for the places where it's just the head.
This was a personal choice (and maybe there are better ones?) We like the blanket stitches; they look fancy. And the whip stitches are too small. We saw that people usually make them larger (but I'm starting, and it seems easier to hide imperfections if we make them smaller.)

6. Fill the ornament
Once you have stitched all the head around from one ear to the other, only the "forehead" should be unclosed. It's time to add filling inside. We used a wood stick (a skewer) to push the filling around and ensure it was evenly distributed.

7. Close the ornament
The last thing we need to do is complete around the head. We used some macramé thread to add a hanging cord. Our finding (from experience): it works better with the blanket stitch: use one stitch for one side of the rope, add an intermediate stitch, and another for the other side of the cord. And it is done!
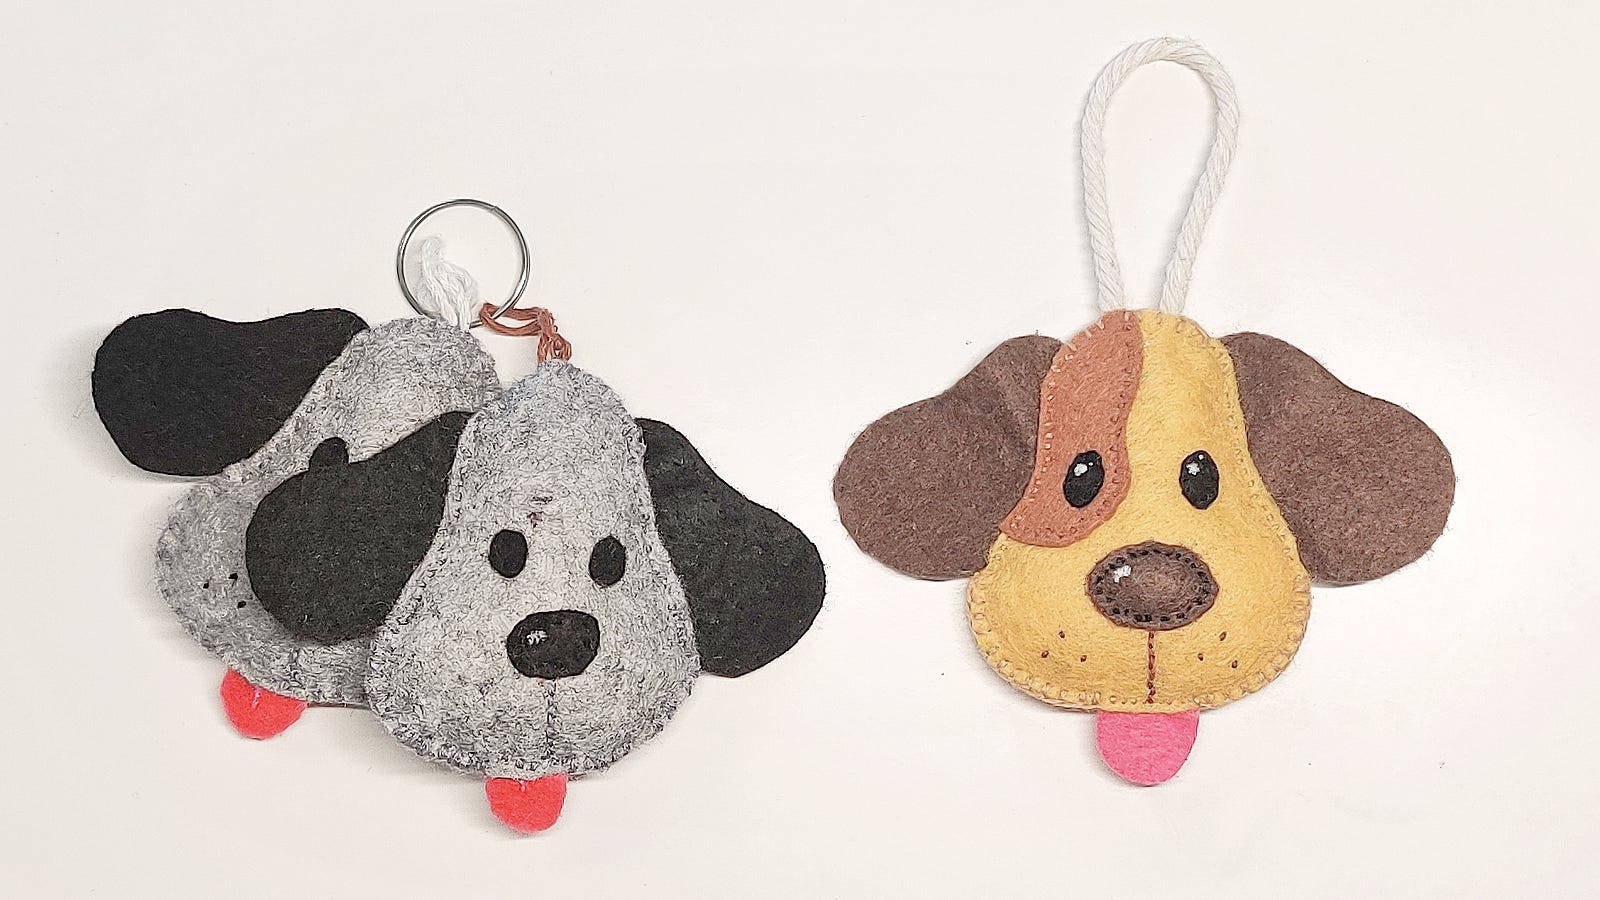
Conclusion
We are pretty new to felt and sewing (which is likely apparent to anyone seeing the stitches I made)... please leave a comment with feedback, recommendations, and links to free resources and cute patterns we can do at home. And if you try to do this puppy ornament, share a picture so we can see it.
I really like how it looks (but again, I'm biased). And my daughter loves the design and has it hanging from her backpack.
Thanks for reading!